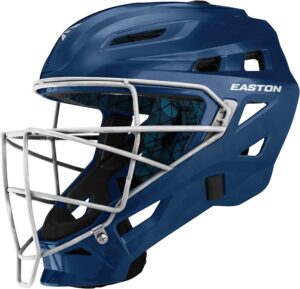
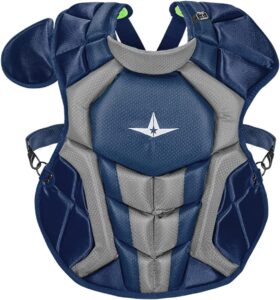
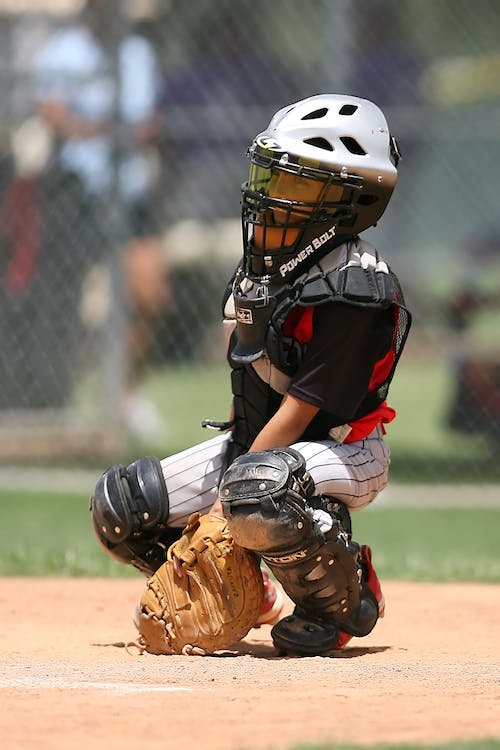
A catcher, in any baseball game, has a challenging role compared to the rest of the team members. Their job is to set up defense strategies that can lead their opponent to the downfall and result in a victory. Due to such an important role, in many games, the catcher is often considered a team leader. Generally, baseball players only have to wear their uniform and carry gloves in baseball matches, but the case is totally different for the catcher. That’s because the catcher’s gear consists of a helmet, chest protector, shin guards, a catcher’s mitt, and a catcher’s bag.
How to Clean Catcher Gear in Baseball
After spending hours playing a day-long game, the catcher’s gear is likely to get dirt which you would need to clean. If you are a beginner and are confused about how to clean catcher gear in baseball, you have come to the right place. We have discussed some ways of cleaning the catcher gear, so you know how to keep it well-maintained.
Cleaning a Catcher’s Helmet:

Typically, the catcher’s helmet doesn’t get too much dirt on it, so you don’t have to worry about it too much. However, it can start smelling if you don’t clean it frequently. Having antibacterial wipes in the bag can be helpful. You can use them to wipe your helmet’s inside after every game in order to prevent it from getting smelly. However, keep in mind that cleaning with wipes is not a permanent solution.
It would be good if you thoroughly cleaned your helmet at least once every week. Cleaning the helmet is not difficult, though; you can easily clean it by following some simple steps.
First, remove the straps of your helmet and wipe it from the inside and outside using a moist cloth. If the helmet seems too dirty, use soap in small quantities. Ensure thorough cleaning, especially the metal cage, because it is most likely to have dirt on it. Once you are done, use a disinfectant spray on the inside and let it dry.
Cleaning the Chest Protector:

The chest protector consists of two sections – the inner layer and the outer layer of the fabric. You would need to clean both layers individually.
First, remove the shoulder pads and straps to take both layers apart. After that, you can clean the chest protector’s fabric layer in the washing machine and make cleaning convenient. However, don’t forget to remove any loose dirt by shaking the fabric off before tossing it into the machine.
On the other hand, you may want a more hands-on approach when it comes to the plastic layer. Start by knocking off the loose dirt from the protector by shaking it. Then, wipe the plastic layer by using a wet towel thoroughly, just like you cleaned the helmet. Next, use a disinfectant spray to sanitize the layer. Take a generous amount of sanitizer to spray both the outside and the inside of the protector. After that, leave out the protector and let it dry.
Cleaning Catcher’s Mitt:
The catcher’s mitt is considered the most critical gear for the catcher. Make sure to pay special attention to it while cleaning the catcher’s mitt. Keep in mind that you would want to avoid washing the mitt in the washing machine. Hand washing is a more effective approach, so you should stick to it.
First, wipe down the mitt thoroughly using a dry cloth. When it comes to mitts, they are naturally drier compared to other gears, so you can take your time. Moreover, you can use a damp cloth for better results. Once you feel satisfied with the outcome, wipe the excess soap down and let your glove air dry. When dried, apply a little bit of leather conditioner oil to the gloves. The oil will be helpful in keeping the leather smooth and preventing it from cracking. The leather is prone to crack if you don’t condition it properly. Therefore, conditioning gloves are absolutely essential.
Other than that, if the inside of the gloves feels smelly or dirty, try applying disinfectant spray a bit. However, make sure not to let the water get inside the gloves because then drying it would take a huge amount of time.
Read: Iron Out for Baseball Pants
Cleaning the Shin Guards:
Compared to other parts of the catcher’s gear, cleaning shin guards is quite easy. Start by undoing the straps and knocking off loose specks of dirt or dust that you see on your shin guards. Next, use disinfectant oil to spray the guard from all sides. Once you have sprayed completely, leave the shin guard out for drying for a few hours. After that, you can use it. Keep in mind that using a product that is approved for use on sports equipment is extremely important. Furthermore, you can also try using antibacterial wipes to quickly clean the shin guards if you want to save time.
Cleaning Gear Bag:
Once you have cleaned the catcher’s gear, now it’s time to clean the catcher’s gear bag. That’s because dirty and smelly gear can cause the bag to get dirt and be smelly too. So why leave the bag out of the cleaning process when you are cleaning the entire gear thoroughly?
In order to clean the bag, first, you need to make sure that it is completely empty and that there is nothing inside. Then, scrub your bag using a brush before washing. Make sure the bag doesn’t contain any loose dirt. After that, use mild liquid detergent or mild soap to make a solution of water and soap. Soak your bag in the solution and leave it for 20 minutes. Next, scrub the bag by using a bristle brush and ensure the removal of all dirt from it. Lastly, use cold and clean water to rinse the bag and then let it air dry.
Wrapping up:
Maintaining the hygiene of the cleaning bag is absolutely essential to make sure they last longer and remain effective. Every part of your catcher’s gear requires a different kind of special care. We hope that reading the above-mentioned guide on how to clean catcher’s gear in baseball helped you understand the process well. If you have any confusion, feel free to ask us.

